

How to prepare carbon fiber tubes
Cutting
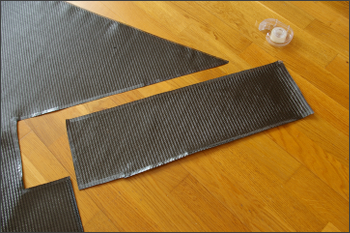
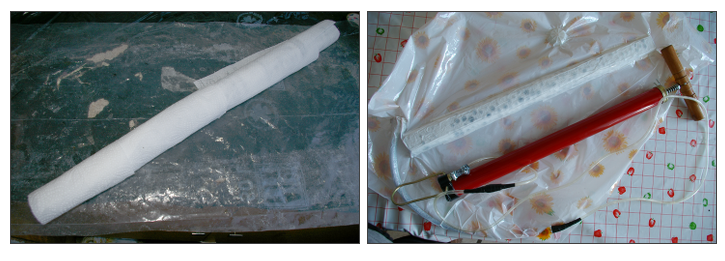
Cut polystyrene foam of roughly desired size. If you need thicker tube glue two or more pieces of polystyrene leaves together. If I needed circular shape of tube on cross-section I tried to cut as many edges as possible by cutting knife.
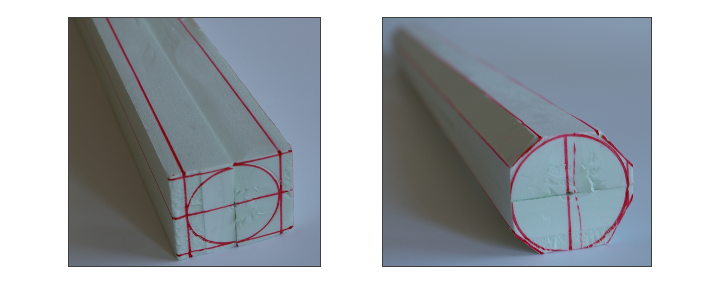
Sanding
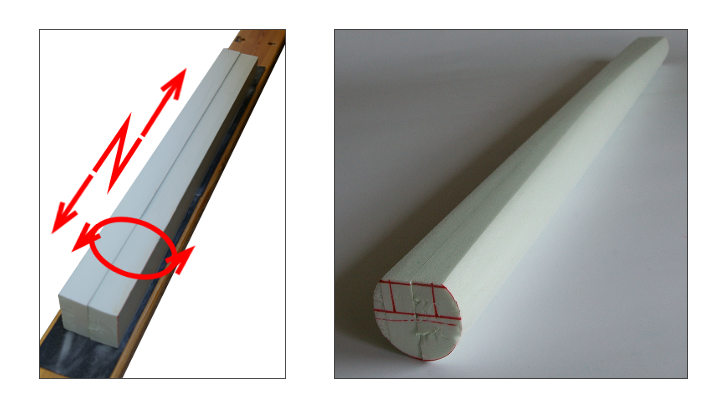
You can get fine surface of foam tube by sanding. I use different size of sandpapers (400, 600 etc.). To shape long tubes evenly, I glued pieces of sandpaper on wooden plate. Then, I move the polystyrene block on sandpaper circularly and/or by zig-zag movement.
Graph paper template
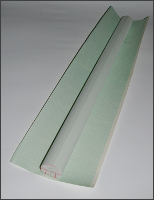
I wrap piece of graph paper around the polystyrene core and cut it appropriate. Graph paper will serve as aid to cut out the carbon cloth.
You do not need to follow this step. If you roll polystyrene tube directly through the carbon cloth and cut carbon accordingly, you will get the same result.
Cutting carbon fiber cloth
Put carbon cloth on some flat and smooth surface. Any sharp protrusion will pluck the carbon filaments out from the cloth. To cut proper sized piece of carbon cloth put the corresponding graph paper on the cloth and stick clear tape around this paper.
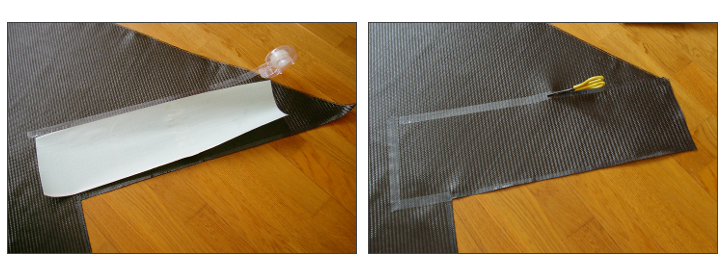
 Make sure you did not stick the graph paper on the carbon cloth. You will need it again. Then lead scissors in the middle of the tape. Fibers of carbon cloth jink during shearing. Tape will prevent it. Of course, the piece of tape must be cutted out from carbon part before applying it on the polystyrene core (save the first layer). So, you have to use scissors again but it is easier to work with smaller piece of cloth.
Wrapping
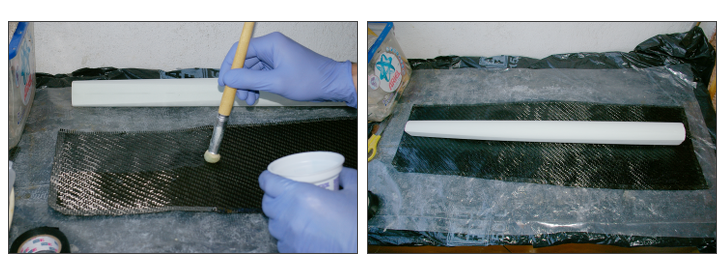
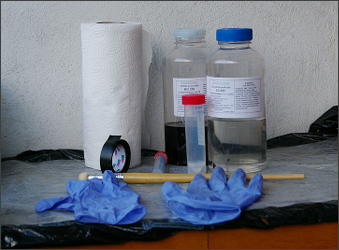 Prepare working place: put some plastic tablecloth on the table. Epoxy resin will not stick to this material. Wet carbon cloth (without clear tape on the longitudinal edges) with mixture of epoxy:hardener. I use 2 volumes of epoxy mixed with 1 volume of hardener. You can use brush to apply this mixture on the carbon. I prepared my own high-tech device: sponge attached to the old brush handle. After work I just throw the sponge away and attach new piece of sponge.
Place polystyrene tube on the wet carbon cloth and wrap carbon around the tube. Work in gloves.
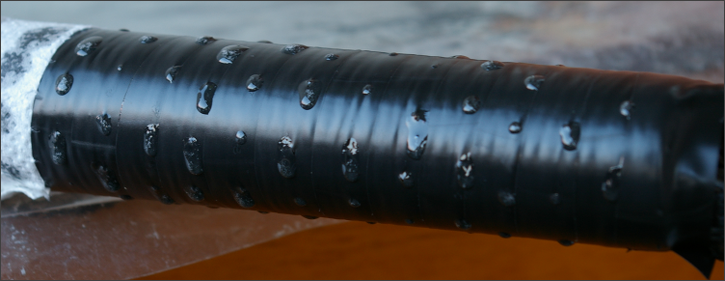
Now apply perforated PVC tape on the tube with sticky side up. Do not wrap the tape to fast on the first layer. Resin during curing creates warm. Weak polystyrene core can change the shape afterwards.
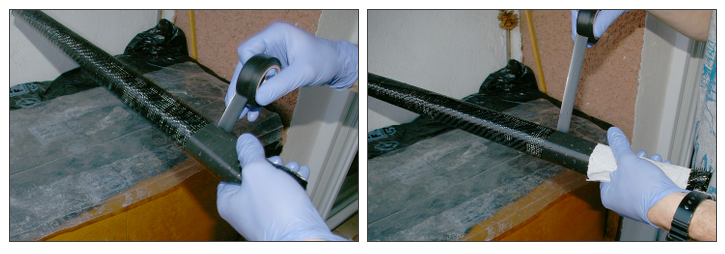
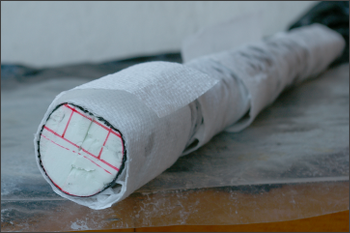 As resin goes through the perforations in the tape, it starts to be difficult to hold the tube in gloves. I wrap the tube with kitchen towels. Paper absorbs the resin and helps to hold the tube. During wrapping the tape, do not hold the tube on the end only. As you move towards opposite end hold the tube close to place where you wrap the tape and apply paper towels sequentially. You should end up with tube wrapped in paper. Cut the exceeding carbon and paper at the ends.
Finally, wrap the paper kitchen towels around the tube again, do not remove the first layer of paper. Put the tube into space bag. Apply vacuum during first hour or more.
You can unwrap the tape with paper after 4-5 hours and apply another layer. I usually apply new layer of carbon next day... I do not have time to do more. If you let cure the resin overnight you should sand the tube with sandpaper. Do not push hard. Sanding must be gentle.
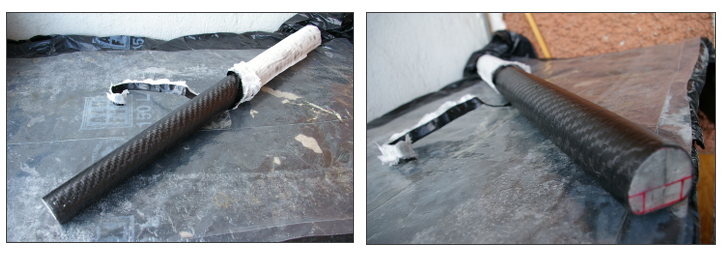
Repeat this procedure as much as you need. The number of layers vary from 7 to 24 on the exposed places.
Dimensions of raw tubes
| Tube | Diagram | Dimensions (Outside x Inside x Lenght) [mm] |
No. layers |
| Head tube |  |
50 x 41.3 x 143.5 | 10 |
| Top tube |
Front: 46.2 - 44.2 x 42.4 - 40.0 x 552 Rear: 37.8 - 33.0 x 33.0 - 28.2 x 552 |
7 | |
| Down tube |
Front: 61.0 - 51.0 x 56.5 - 46 x 633 Rear: 61.1 - 58.0 x 56.4 - 53.1 x 633 |
7 | |
| Seat tube | 36.3 x 31.2 x 552 | 7 | |
| Chainstays |
Front: 57.4 - 25.5 x 385 Rear: 27.8 - 25.0 x 385 |
7 | |
| Seat stays | 7 |

