Material and tools
Carbon fabrics, resin and hardener
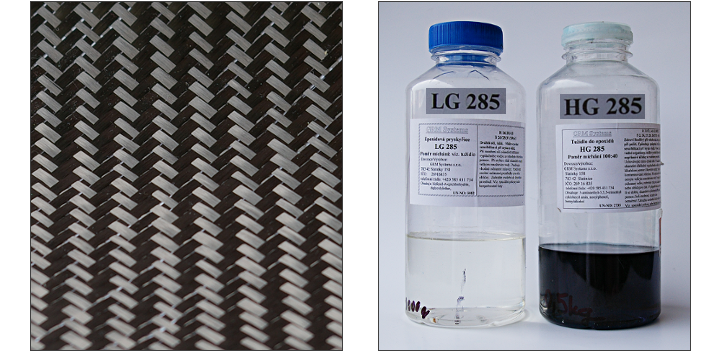
I used bi-directional carbon fabrics, 3K fibers, 160g/m2, twill 2/2 weave, 5m2, so far. Of course, you can use uni-directional carbon fiber cloths. If you know how to lay each layer in certain direction you will save some weight. Bi-directional carbon looks nicer and you can use it as top visible layer. It is up to you.
I used epoxy resin LG 285 and hardener HG 285 for laminating. These two components are mixed together in the volume ratio of 2:1 at room temperature. It is not necessary to let laminate cure at higher temperature.
In addition to carbon cloth, I used carbon rowing for wrapping the tube junctions.
Styrofoam
Core of the frame tubes is made of extruded polystyrene (XPS). You can get it at local hobby store. One piece will be sufficient enough. Do not use ordinary white, expanded polystyrene with “bubbles”. I seriously doubt you can get a nice clean shape using this kind of material.
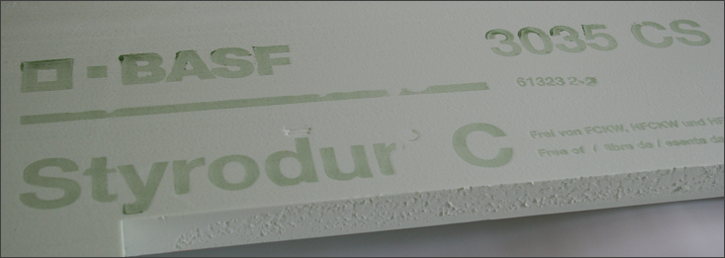
There is different thickness of polystyrene available on the market. I used 3 and 2 cm thick ones, respectively. It is cheaper. Down and top tubes are thicker than that, though. So, if you decide to use such a thin or even thinner polystyrene, you can use appropriate glue (UHUpor, for example) and glue two polystyrene leaves together.
Cutting knife and sandpaper
I used cutting knife to cut piece of polystyrene with roughly adjusted size. It is also possible to use hot wire foam cutter. Despite I am happy owner of such a thing I did not use it. You definitely need big deal of practice to work with. Knife suits me well. Save some bloody scratches on my fingers and forearm… So, be extreme careful.

I used 400, 600 marked sandpapers to get nice clean surface of the polystyrene core. To shape long tubes I glued 2-3 pieces of sandpaper on the wooden plate. I could get straight tube core.
PVC tape
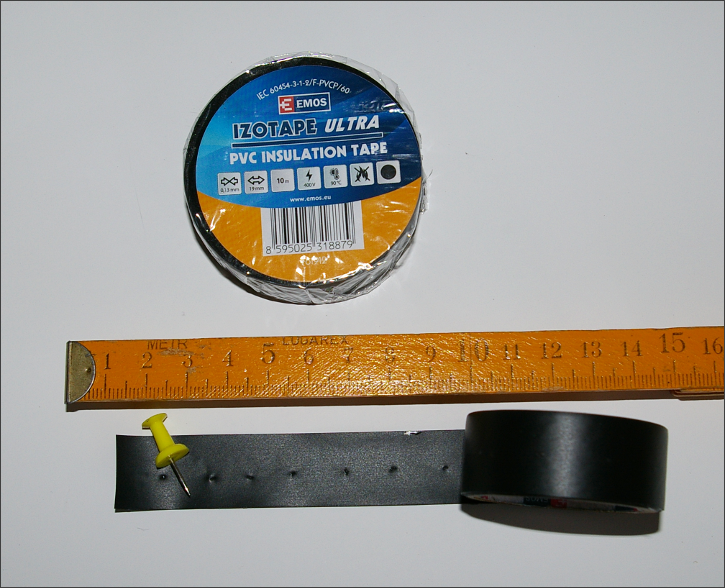
I use ordinary PVC electrical tape to achieve enough compression on carbon cloth during laminating. It also squeezes the excess of epoxy resin out of the carbon layers. I use pin to make small holes into the tape, approx. 1-2 cm apart. I prepared big deal of perforated tapes in advance. Tape is wrapped around the wet carbon layer sticky side up.
Vacuum pump and space bag
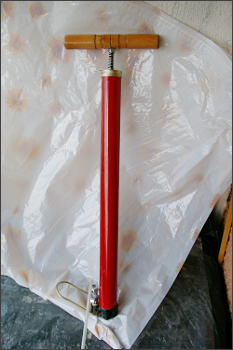 I use manual homemade vacuum pump for further compressing and taking out the excess of epoxy resin from new composite layer. You can easily prepare one for yourself reverting the ordinary hand pump according to this web instructables. I attach space bag to this pump. It is not perfect. It holds vacuum for couple of minutes, so, if you want to keep vacuum in the bag for longer you have to pump frequently. I repeat the pumping as much as possible for about one hour after laminating.
Metal parts
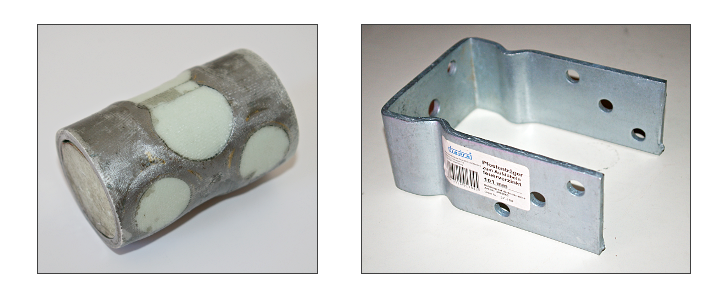
Metal is usually used for head tube, part of the seat tube, bottom bracket shell, front and rear dropouts. I was not able to find appropriate sized tube for head tube. So, I prepared one myself from carbon. BB shell is taken from my old road bike. Rear dropouts are made from construction metal part (thickness 5.4 mm) that I bought at local hobby store.
Summary
| Material | Type | Amount |
| Carbon fabric | 160 g/m2, Toray, 3K, kepr | up to date 5 m2 |
| Carbon rowing | apx. 100 m | |
| Glassfiber | Aeroglass 163 g/m2 | 0.5 m2 |
| Epoxy resin | LG 285 | 1 kg |
| Hardener | HG 285 | 0.5 kg |
| Extruded polystyrene | Styrodur C, 3035 CS, 1250x600x30 mm | 1 piece |
| Extruded polystyrene | Styrodur, 1250x600x20 mm | 1 piece |
| Sand paper | 400, 600 | apx. 5 pcs each |
| PVC tape | width 19 mm | apx. 200 m |
| Wooden slabs | 42x17x80 mm | apx. 12 pcs |
| Plywood | thickness 9 mm | |
| Screw | 3.5x50 mm | |
| Screw | 2.5x40 mm | |
| Screw | 2.5x30 mm | |
| Metal U-join | thickness 5.4 mm | 1 piece |
| Metal L-join | 4 pcs | |
| Threaded rod | 10x1000 mm | 1 piece |
| Threaded rod | 6x1000 mm | 1 piece |
| Nuts | DIN 934 M10 | min 12 pcs |
| Conical-shaped nuts | M10 | 2 pcs |
| Washers | 33.8x11.5x3 mm | min 4 pcs |
| Washers | 22.3x8.2x1.5 mm | min 4 pcs |
Do not forget...
- scissors
- ruler
- permanent marker
- graph paper
- gloves
- plastic tablecloth
- kitchen towels
- acetone


